L.J.'s Cheese Recipe
(No skillet required!)
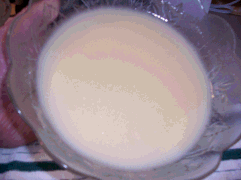
The photo at the right is a bowl of home
made cheese using L.J.'s Recipe.
No Skillet was used. Only the
Microwave. The cooking took 4 minutes
total.
Here is the recipe.
Step
One: Add 4 cartons (large size cartons) of large curd
cottage cheese to a collander to drain the cheese. A collander
with larger holes will drain better because the collander with
fine holes tends to drain slower and the holes may clog
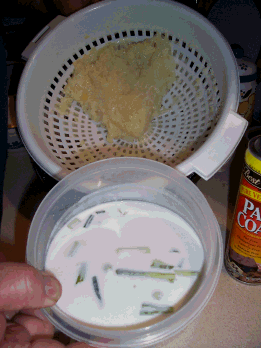
shut. Place a 4 quart pan under the collander to
catch the cream that drains from the cheese.
(Save this drained cream and add chopped
onions, cucumbers, and a little pepper for sluters!) See
picture below.
Add salt to the 4 cartons of cheese to
your taste.
Allow the 4 cartons of cheese in the
collander to stand for at least 24 hours or longer to drain the
cream from the cheese.
Do not regrigerate during this process
as the cold will slow down the drain. Just leave on the
kitchen counter with a cloth over the top. Wait 24 hours or
more to drain.
Step
two: After the cheese has drained, (about 24 hours)
sprinkle 4 teaspoons of soda over the cheese. Stir in
the soda as good as you can. After the soda
is added, put the cloth back on the cheese and let stand overnight
or at least 12 hours. Longer is better. When
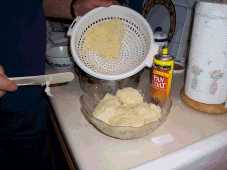
the cheese is "done it will look like it has a yellow glaze over it
and will be stuck together in a big glob." Like the
picture below. It is ready to cook.
Step
Three: Using a large glass (not plastic) bowl,
place the entire contents in the bowl and put in the
microwave. Set the timer on 2 minutes at high temp. It
is a good idea to spray the bowl with Pam or apply a little butter
to keep the cheese from sticking.
Step
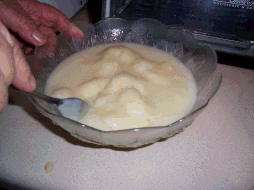
Four: After two minutes, remove the cheese, stir for
about a minute or two to help dissolve the lumps of cheese.
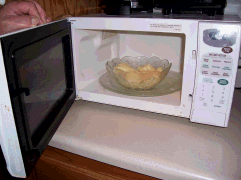
Put the bowl of cheese back in the Micro Wave for 1 more
minute. See pictue below.
Step
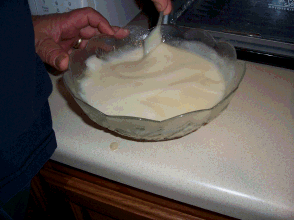
Five: : Remove the cheese and stir. It
should be done and free of lumps. If there are still a few
lumps, stir a little and put back in the Micro wave for 30
seconds or so. When the lumps are gone, the cheese is
finished.
Step
Six: Place the glass bowl of melted cheese in a
cool place to set. The refrigerator is OK. It usually
takes several hours to set. The longer is sets,
the better it is. The cheese is actually better the second and
third day. I guess it ferments or
something.
More: After step five, add some of
your favorite spice, garlic, cayenne pepper, green peppers,
etc. Be creative.
After the cheese has set, cut a slice
and put it on a slice of bread. Pop it in the Micro wave for
10 seconds. Great hot cheese
sandwich.
Still
More: After the cheese has set, cut some 1 inch
squares and place them on waxed paper or cookie sheet.
In about an hour they will melt and look like cookies and
make great snacks with crackers.
Eat at your own
risk.
See this in a slide show
at:
| 


